How to Set Up Kali Linux on a Raspberry Pi Model B
How to Set Up Kali Linux on a Raspberry Pi Model B
Keep your hacking machine in your pocket
Keep your hacking machine in your pocket
Keep your hacking machine in your pocket
Keep your hacking machine in your pocket
Client
Own
Services
Own
Industries
Tech
Date
Sep 27, 2023
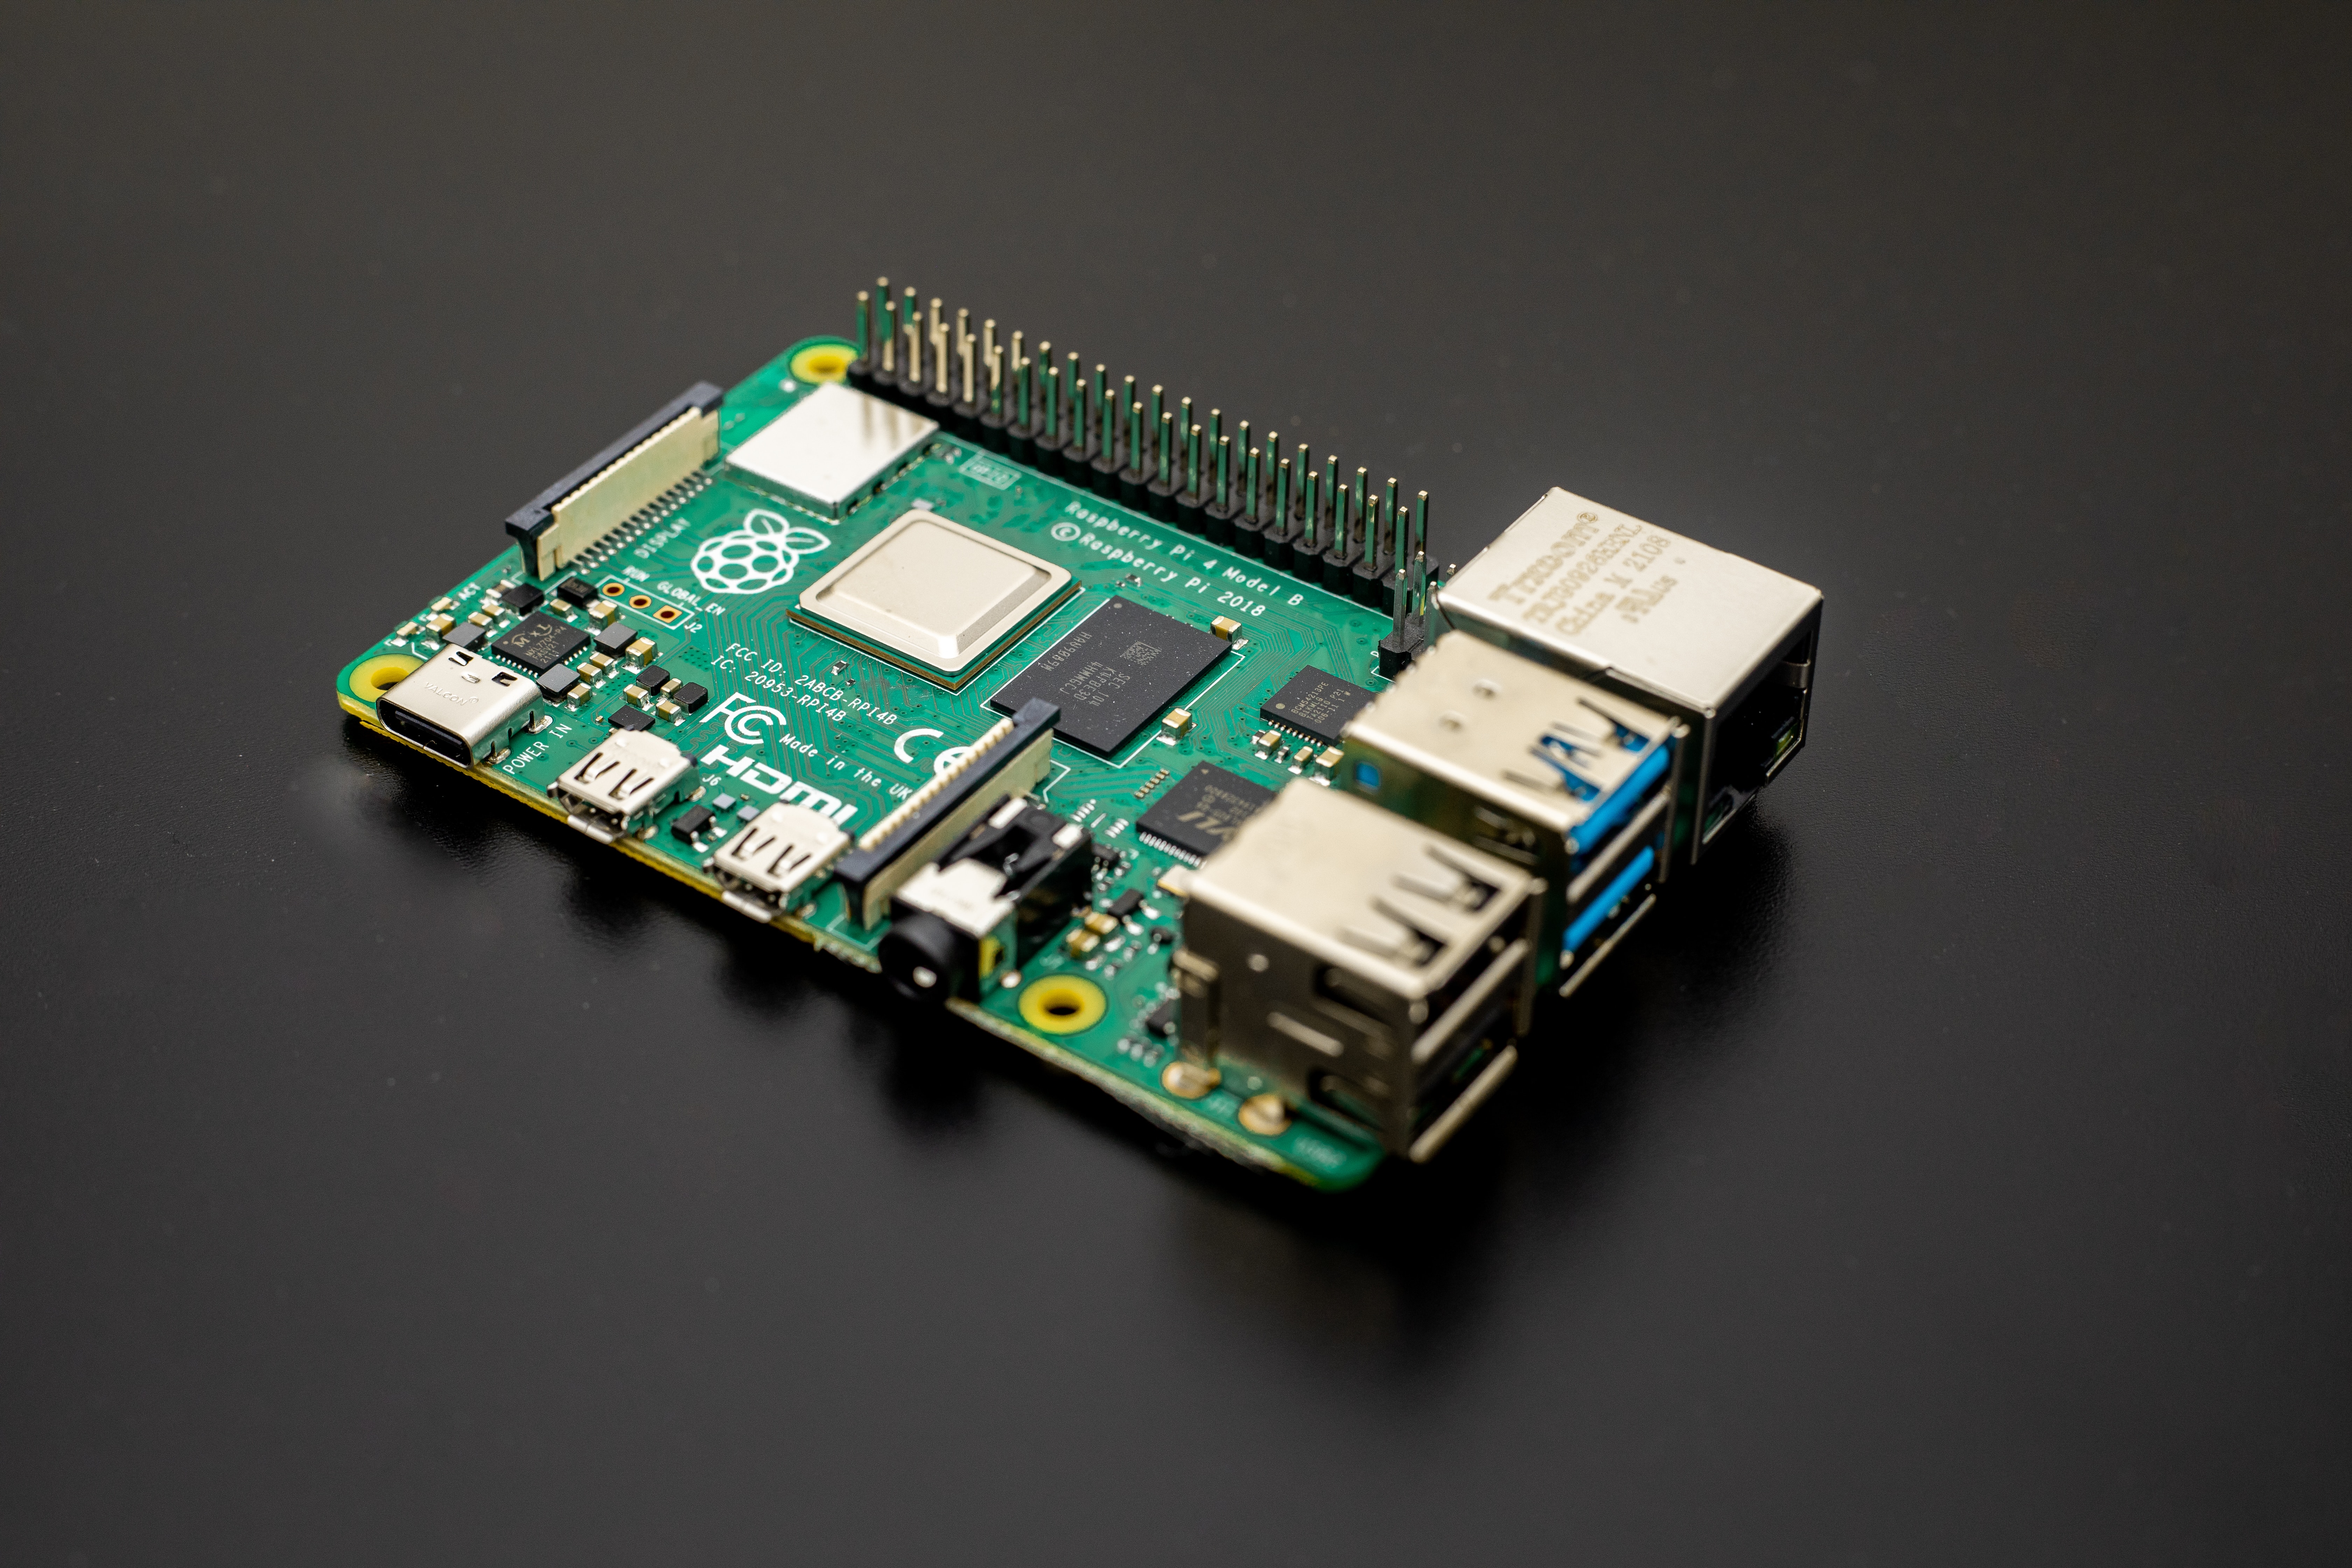
The Raspberry Pi is a versatile and affordable single-board computer that has gained immense popularity among tech enthusiasts and cybersecurity professionals. Kali Linux, on the other hand, is a powerful penetration testing and ethical hacking distribution widely used for security testing and research. Combining these two can create a compact and portable hacking toolkit. In this tutorial, we will guide you through the process of setting up Kali Linux on a Raspberry Pi Model B.
The Raspberry Pi is a versatile and affordable single-board computer that has gained immense popularity among tech enthusiasts and cybersecurity professionals. Kali Linux, on the other hand, is a powerful penetration testing and ethical hacking distribution widely used for security testing and research. Combining these two can create a compact and portable hacking toolkit. In this tutorial, we will guide you through the process of setting up Kali Linux on a Raspberry Pi Model B.
The Raspberry Pi is a versatile and affordable single-board computer that has gained immense popularity among tech enthusiasts and cybersecurity professionals. Kali Linux, on the other hand, is a powerful penetration testing and ethical hacking distribution widely used for security testing and research. Combining these two can create a compact and portable hacking toolkit. In this tutorial, we will guide you through the process of setting up Kali Linux on a Raspberry Pi Model B.
Before You Begin
Before you start, make sure you have the following:
Raspberry Pi Model B (you can use other models, but this guide focuses on Model B).
MicroSD card (16GB or larger recommended).
Power supply for your Raspberry Pi.
A computer running Linux (recommended) or Windows.
Internet connection.
Step 1: Download the Required Files
First, you'll need to download the necessary files for setting up Kali Linux on your Raspberry Pi. Visit the official Kali Linux website (https://www.kali.org/downloads/) and navigate to the "ARM Images" section. Download the Raspberry Pi ARM image compatible with your Pi Model. Make sure to select the correct architecture (e.g., Raspberry Pi 2/3 or Raspberry Pi 4, depending on your model).
Step 2: Flash Kali Linux onto the MicroSD Card
To flash the Kali Linux image onto your microSD card, you can use a tool like "balenaEtcher" or "Raspberry Pi Imager" for Windows or Linux. Follow these steps:
Insert the microSD card into your computer.
Open the flashing tool and select the Kali Linux image you downloaded.
Choose the target device (your microSD card) in the flashing tool.
Click the "Flash" button to start the process. This will write the Kali Linux image to your microSD card.
Step 3: Configure Network and SSH
After flashing the image, you'll need to configure your network settings and enable SSH so you can access your Raspberry Pi remotely. Follow these steps:
Eject the microSD card from your computer and reinsert it.
In the root directory of the microSD card, create a file named
ssh(without any file extension). This will enable SSH on first boot.Configure your Wi-Fi network by creating a file named
wpa_supplicant.confin the root directory with the following content (replaceYourSSIDandYourPasswordwith your Wi-Fi credentials):
ctrl_interface=DIR=/var/run/wpa_supplicant GROUP=netdev
update_config=1
country=US

network={
    ssid="YourSSID"
    psk="YourPassword"
}
Save the file and eject the microSD card.
Step 4: Boot Your Raspberry Pi
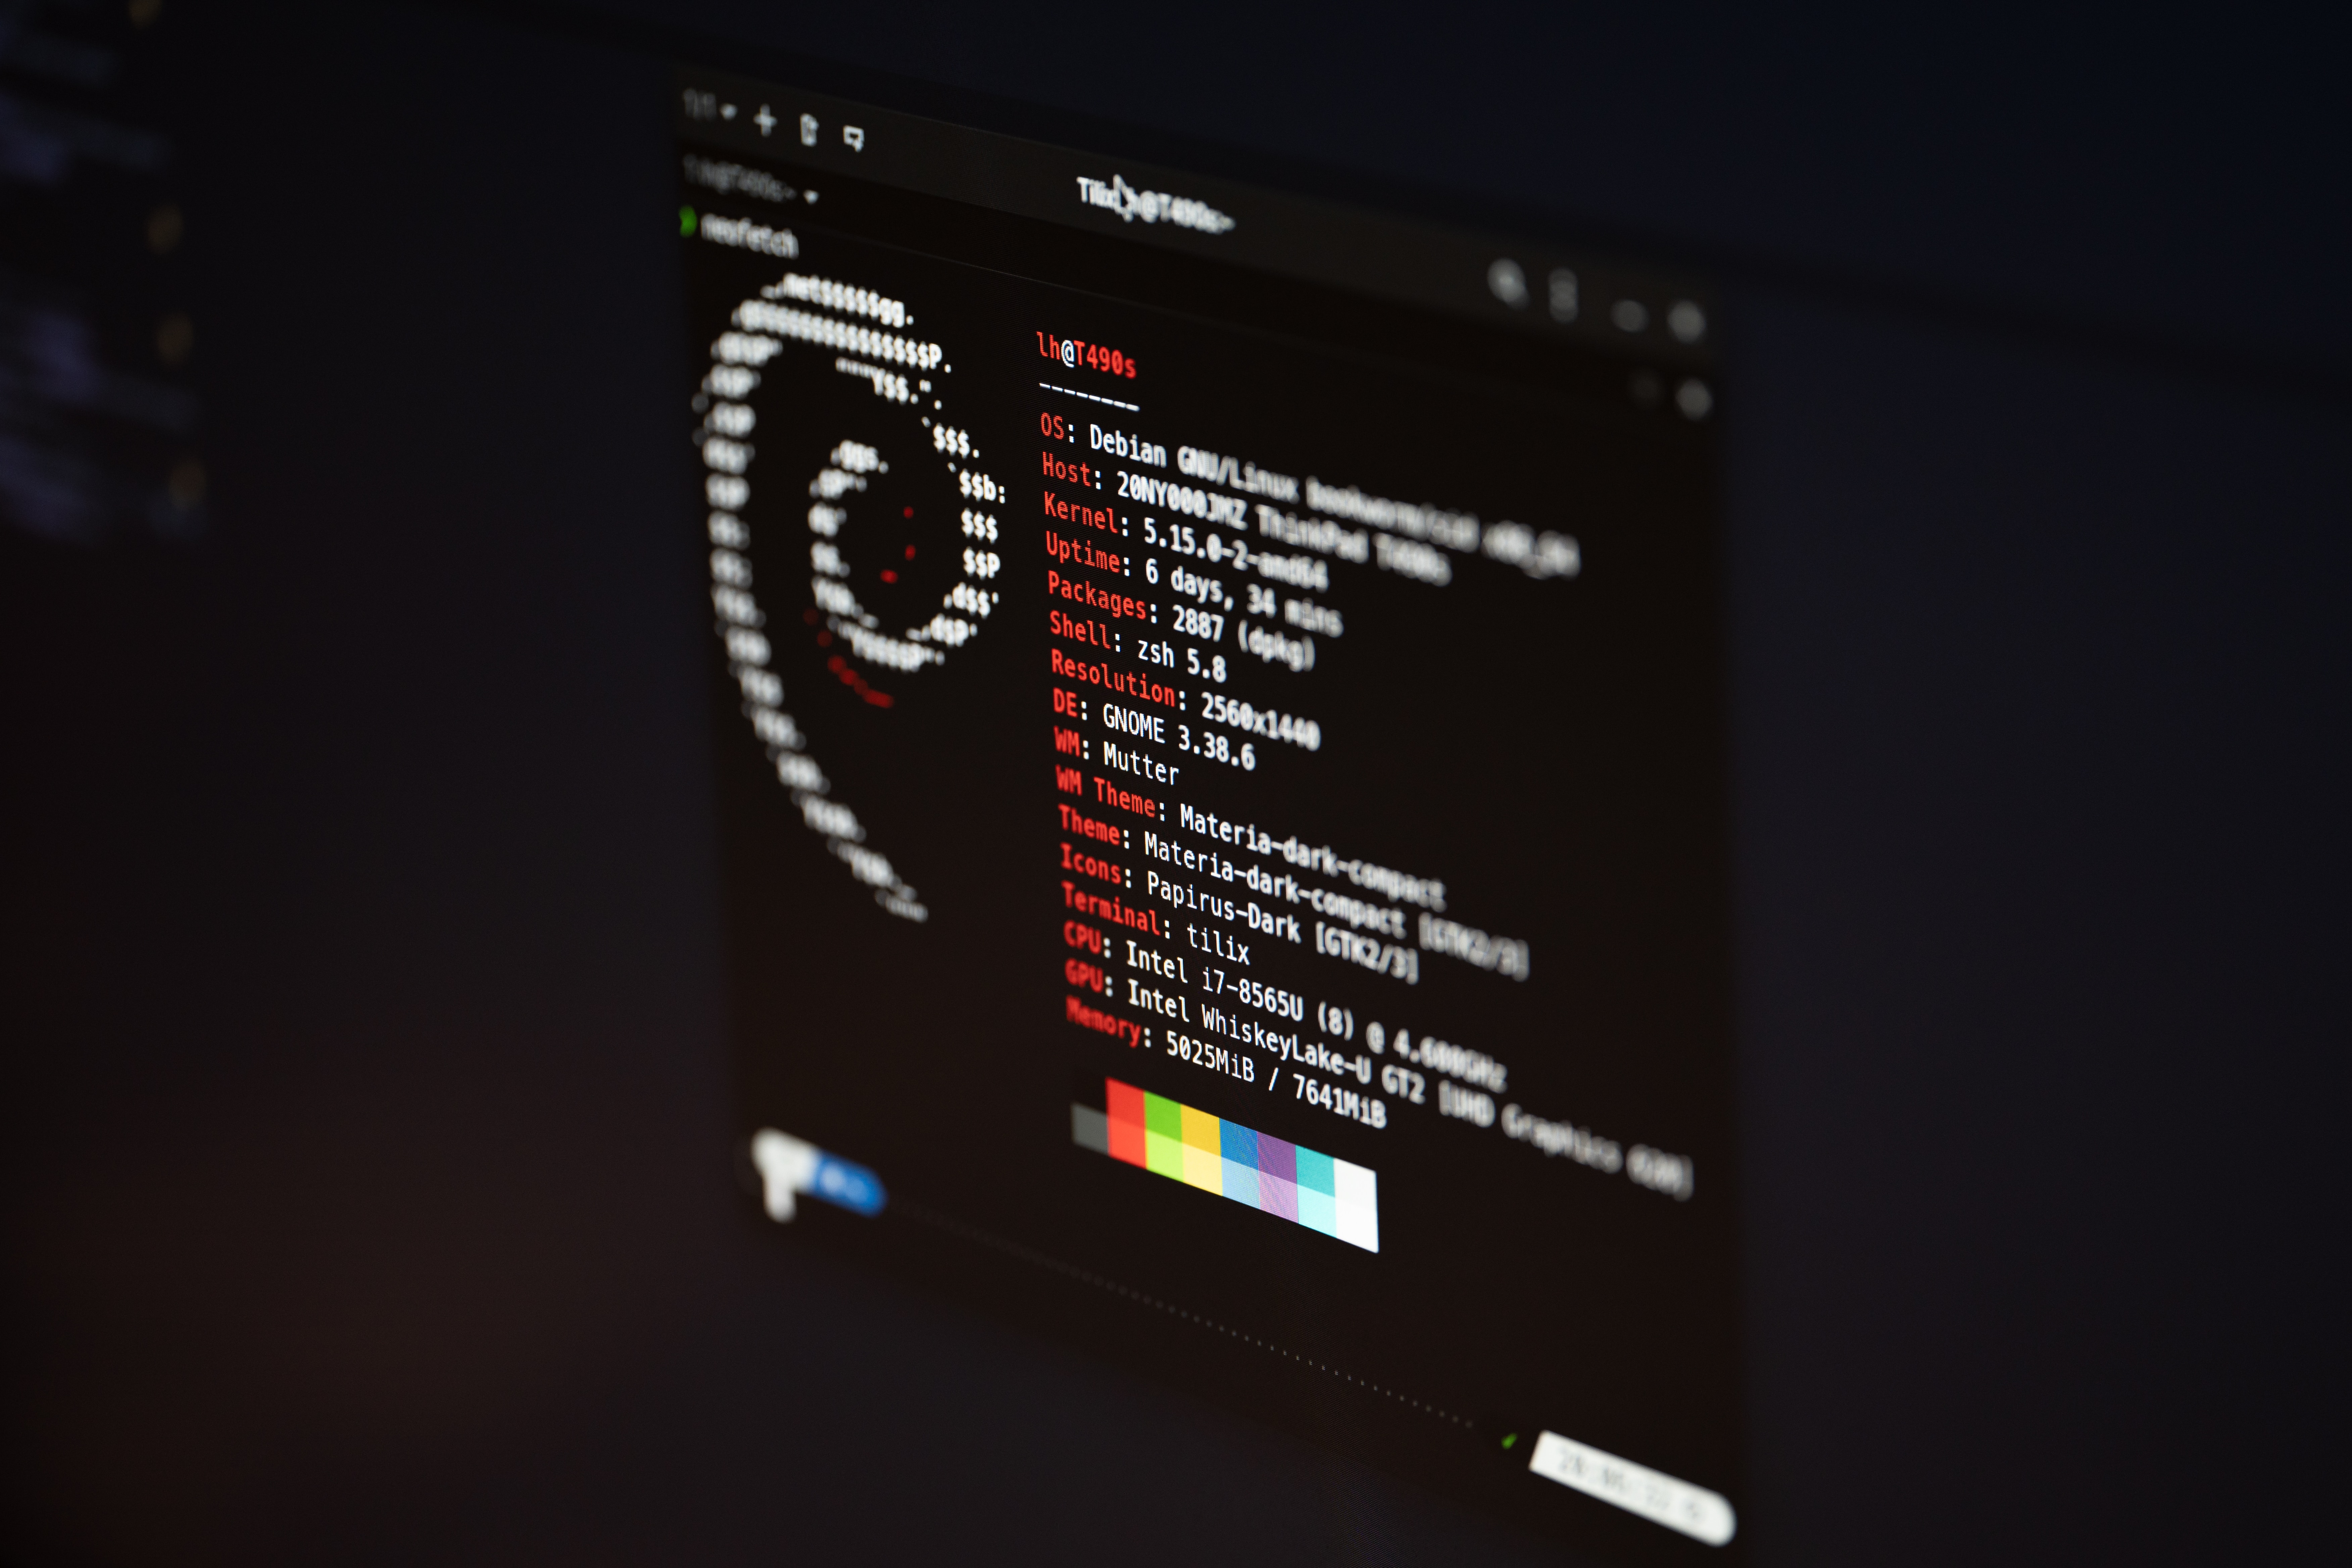
Insert the microSD card into your Raspberry Pi, connect it to a monitor via HDMI, and power it on using an appropriate power supply. The Raspberry Pi should boot up, and you'll see Kali Linux's startup messages on the screen.
Step 5: Initial Login
Once Kali Linux has booted, you'll need to log in. The default username and password are:
Username:
kaliPassword:
kali
Upon the first login, you should change the default password to secure your system.
Step 6: Update and Upgrade
After logging in, open a terminal and run the following commands to update and upgrade your Kali Linux installation:
sudo apt update
sudo apt upgrade
This will ensure that your system is up to date with the latest packages and security updates.
Step 4: Boot Your Raspberry Pi
Insert the microSD card into your Raspberry Pi, connect it to a monitor via HDMI, and power it on using an appropriate power supply. The Raspberry Pi should boot up, and you'll see Kali Linux's startup messages on the screen.
Step 5: Initial Login
Once Kali Linux has booted, you'll need to log in. The default username and password are:
Username:
kaliPassword:
kali
Upon the first login, you should change the default password to secure your system.
Step 6: Update and Upgrade
After logging in, open a terminal and run the following commands to update and upgrade your Kali Linux installation:
sudo apt update
sudo apt upgrade
This will ensure that your system is up to date with the latest packages and security updates.

Congratulations!
You've successfully set up Kali Linux on your Raspberry Pi Model B. You now have a powerful penetration testing and ethical hacking platform at your disposal in a compact and affordable package. Remember to use these tools responsibly and ethically for legitimate security testing and research purposes. Happy hacking!

Let's talk
Connecting with our clients to create tailor-made solutions
New York
2210 18th Street
New York NY, 80024
Rome
4020 20th Street
3920 Rome
We specialize in crafting exceptional digital experiences to help our clients achieve their business goals.
Framer template crafted with love by Akane Asahi